DIY Step-by-Step Roof Insulation Guide
If you’ve got a self-build or refurbishment project going on, an important part of this may be installing a roof. It’s vital you don’t underestimate this task because the roof will ensure the integrity of the whole structure.
There follows a step-by-step guide to installing a roof correctly. You should only attempt this if you are reasonably proficient at DIY. If not, engage a professional because a roof installation will be too difficult and dangerous for a novice.
Step 1. Preparation
If installing to an existing roof, remove the current covering and clean the roof surface of any debris. Ensure the roof surface is sound and make any repairs that are necessary.
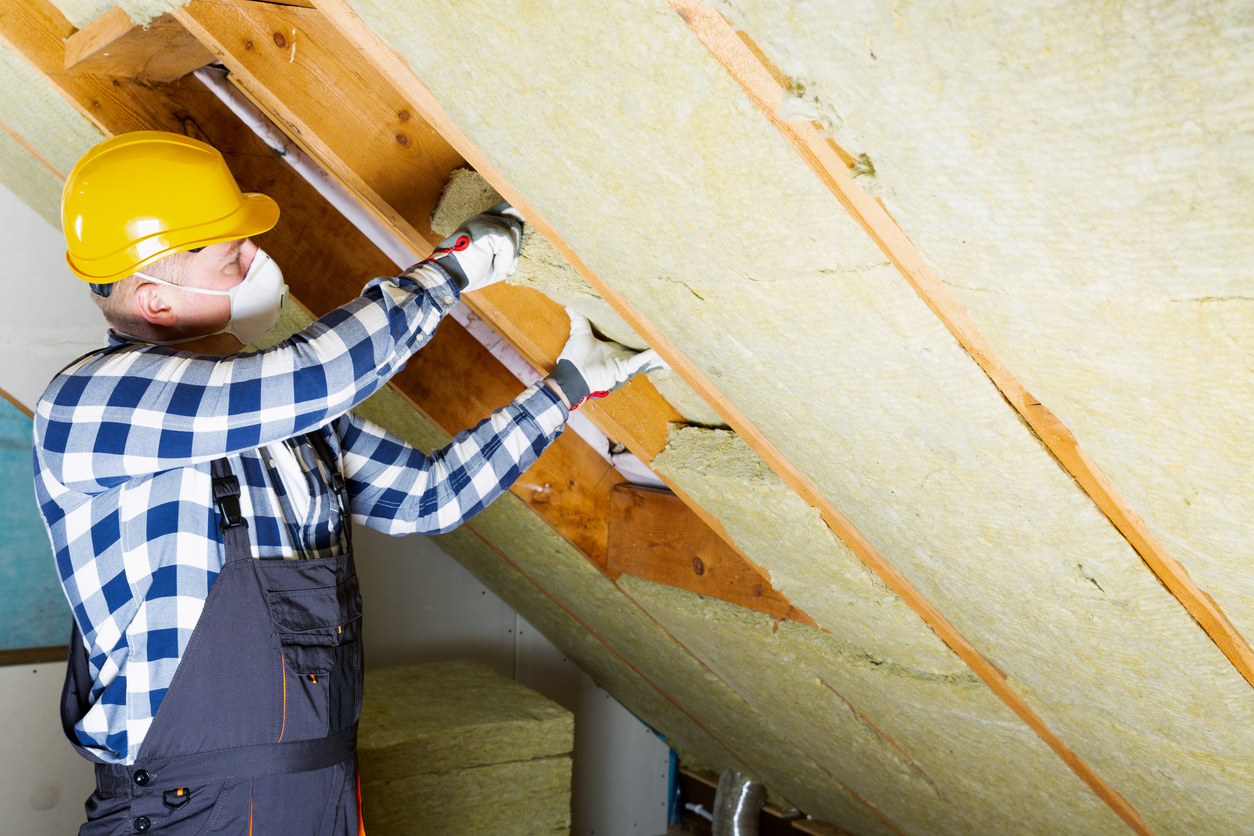
Step 2. Ventilation System
The roof needs to be ventilated to prevent moisture causing dampness and rot. Install a rafter roll at the eaves, tacking it to the rafters so it guides fresh air into the roof; ensure it comes out above any insulation so as not to block airflow. Also install an underlay support tray, positioning it against the bargeboard so that air can enter and the underlay does not sag into the roof cavity.
Step 3. Underlay
Install roofing felt or membrane that meets building regulations. This will provide a secondary barrier against water infiltration. Tack the underlay in place, ensuring there is some slack so liquid flows away from the rafters. You may leave a gap at the ridge to allow air to circulate.
Step 4. Battens
The spacing and size of battens will depend on the size of tiles being installed so consult the manufacturer’s guidelines. A batten will be placed at the first fix point (the lowest point) and you can calculate that by subtracting the length a tile overhangs the gutter from the hanging length.
The top fix point is the recommended distance from the ridge system. You can then divide the distance between these fix points by the maximum gauge for the tile to determine the number of courses, which will indicate the number and position of the battens. Mark the fix points for all the battens, ensuring your lines are horizontal.
Line up the top of each batten with a marked line and nail to every rafter across the roof. You may need an overhang on each side to install a verge system.
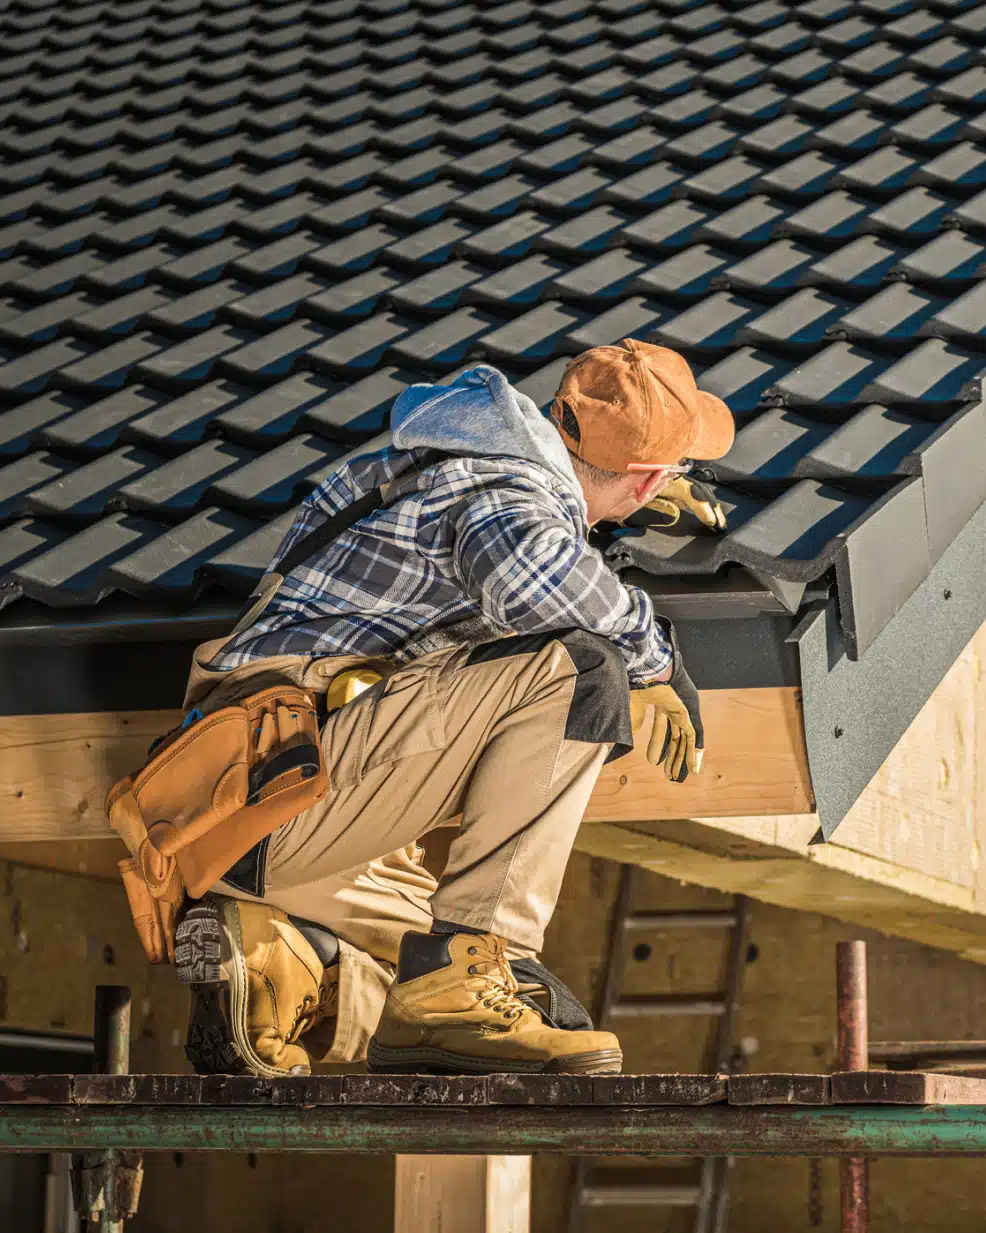
Step 5. Tile Installation
Begin at the bottom edge of the roof with a starter course, ensuring each tile overhangs the roof slightly. Secure each tile with nails or clips in accordance with the manufacturer’s recommendations. Install the next and subsequent courses, working up towards the ridge. Ensure all tiles interlock correctly to provide weatherproofing.
Use a tile cutter or saw to cut the tiles as needed to fit them around vents, chimneys and other obstacles. Install special tiles or flashings for valleys and ridges so they divert water away from these vulnerable areas. Install hip tiles along the hips of the roof and ridge tiles at the peak on top of a breathable ridge membrane, screwing securely to the ridge batten to prevent wind uplift.
Step 6. Finishing Off
Fit verge units in accordance with manufacturer’s instructions then check for gaps that may need finishing or sealing. Remove debris and inspect the roof for any necessary repairs.
Then you’re done. But, don’t forget, if the job is too much for you, we’re here to help.
At H Roofing Solutions, we are central Scotland’s most trusted roofer for repairs and installations. We’re available 24/7 to fix your damaged roof ASAP, we back all new roof installations with a leading 20-year warranty, and you won’t pay until the job is done. In fact, you won’t pay for labour AT ALL if you don’t love our work. Why take chances, when you can protect your family with a roof that’s guaranteed to last?
Some of the areas we service: